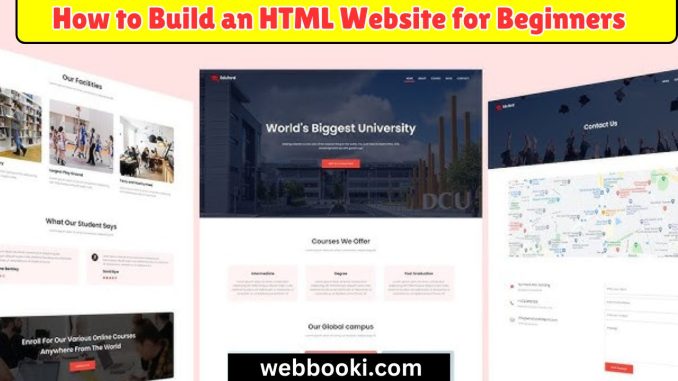
The best way to begin learning about web development is by building a website using HTML, or HyperText Markup Language. As it happens, HTML is the backbone of all web pages present on the internet. Here is a step-by-step guide to help you develop your very first HTML website.
Build an HTML Website for Beginners
Step 1: Setup Your Development Environment
Before you start coding, you’ll need a few tools:
- Text Editor: Choose a text editor to write your HTML code. Popular options include:
- Visual Studio Code: It is a powerful editor with extensions.
- Notepad++ is a light editor for Windows.
- Sublime Text: A sophisticated text editor for code, markup, and prose.
- Web Browser: Any modern web browser will have the ability to test a website-be it Chrome, Firefox, or Edge.
Step 2: Learn Basic HTML Structure
An HTML document has a standard structure that you should know:
<html lang=“en”> <head> <meta charset=“UTF-8”> <meta name=“viewport” content=“width=device-width, initial-scale=1.0”> <title>Your Website Title</title> </head> <body> <h1>Welcome to My Website</h1> <p>This is my first webpage!</p> </body> </html>
- <!DOCTYPE html>: Declares the document type and version of HTML.
- <html>: The root element of the HTML page.
- head: This element contains the meta-information of the document such as the title of it and the character set.
- <body>: This holds the content that will appear on the web page.
Step 3: Writing Your First HTML Page
Open up your text editor and create a new file. Save it as index.html. Copy the basic structure above and replace whatever is inside those <body> tags. Example:
<body> <h1>My First Website</h1> <p>Hello, world! This is my first attempt at creating a website.</p> </body>
Step 4: Additional Content
You can enhance your website by incorporating more components on it. Here are some common HTML elements:
- Headings: use Receives <h1> to </h6> for headings of varying size.
- Paragraphs: Use <p> to display text paragraphs.
- Links: Please use <a href=”URL”>Link Text</a> to create links.
- Images: Use <img src=”image.jpg” alt=”Description”> to add images.
Example:
HTML
My favorite website is: <a href=”https://www.example.com”>Example</a>
<img src=”myimage.jpg” alt=”A beautiful scenery”>
Step 5: Add Style to Your Website using CSS
While HTML is for structure, Cascading Stylesheets – CSS for short- are for styling. You can include CSS directly within your HTML using the <style> tag in the <head>:
HTML
<style>
body {
background-color: lightblue;
font-family: Arial, sans-serif;
}
h1 {
color: darkblue;
}
</style>
Step 6: Testing your website
Open the index.html file in your browser and you should start to see your content with the styles you added. After you have made any changes to this in the text editor refresh this page to see updates.
Step 7: Explore More HTML Elements
As you get comfortable with the basics, try exploring more HTML elements such as:
- Lists: Use unordered list for <ul> and ordered list for <ol>.
- Tables: For building tables, use the <table>, <tr>, <th> and <td>.
- Forms: Use <form>, <input>, and other related elements.
Step 8: Publishing Your Website
Once you are satisfied with the design of your website, you can always publish it online. You will be needing the following:
- Web Hosting: Sign up for web hosting services to host your website files on a hosting service provider like Bluehost or HostGator.
- Domain Name: Purchase a domain name that reflects or represents your website.
- Upload your HTML files to your server by using FTP or via the control panel, if your hosting provides it.
Conclusion
It’s a great feeling building an HTML website, especially if you are just starting to dive into the world of web development. Your end result from following these steps should give you a great footprint in which to create and expand your web development skills. Once you get comfortable with HTML, you can try learning CSS and JavaScript for dynamic and greater functionality with your website design. Happy coding!
Leave a Reply